Description
WOVEN WIRE SIEVES
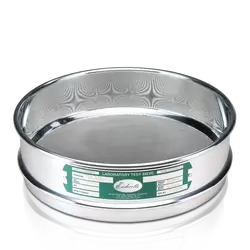
- Type of mesh: woven wire
- Mesh sizes: 125 mm – 20 µm
PERFORATED PLATE SIEVES
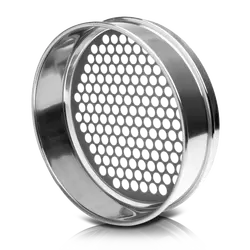
- Type of medium: perforated plate with square or round holes
- Aperture sizes: 125 – 1 mm round hole
125 – 4 mm square hole
MICROPLATE SIEVES
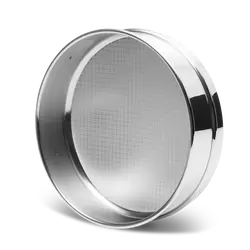
- Type of mesh: microplate
- Mesh sizes: 200 µm – 5 µm
WET WASHING SIEVES
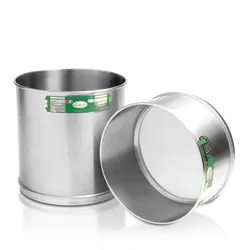
- Type of mesh: woven wire
- Mesh sizes: 125 mm – 20 µm
DIAMOND SIEVES
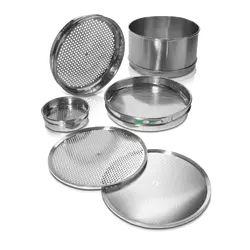
- Type of mesh: stainless steel plate fitted with bezels or test sieves
- Mesh sizes: see order data
CALIBRATION SAMPLES
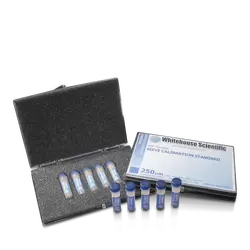
Test sieves calibration samples supplied by Endecotts are microspheres formed of soda-lime glass that range from 3.35 mm down to 20 microns. Because of the precise nature and extent of the range of spheres, samples can be supplied to enable the accurate calibration of individual sieves to an accuracy of approx +/- 1µm.
- reliable calibration of individual sieves
- one of the most accurate calibration method
FUNCTION PRINCIPLE
How to accurately calibrate test sieves in a matter of minutes:
- Select the calibration sample size that matches the aperture size of the sieve.
- Place the sample on the sieve under test and shake for 2 minutes.
- Weigh the passing sample and calculate the percentage.
- Read the percentage passing along the graph.
- The mean average aperture size in microns can now be read off against the graph which is supplied with your sample.
CERTIFICATES & RECERTIFICATION
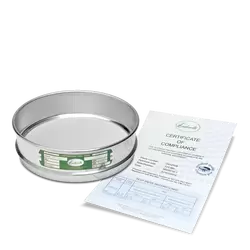
- aperture & midpoint measurement
- recertification and calibration service
SIEVE ACCESSORIES
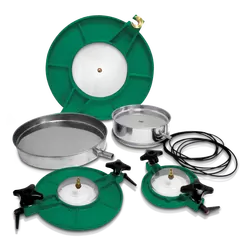
- Wet sieving conversion kits
- Sieve brushes
- Rubber sieve balls
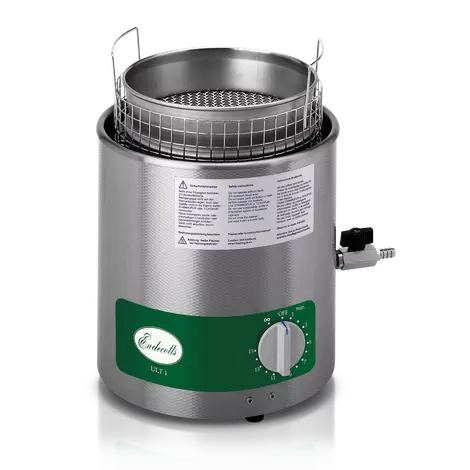
ULTRASONIC CLEANER
Sieve Standards
Whitehouse Scientific has been producing precision glass microspheres for calibration for over 35 years and is the highest ranking European certification laboratory for primary methods of particle size analysis.
The references, nearly all NIST traceable range in size from 0.1µm to 5.0mm and are available as single sizes or broad distribution standards.


